Pressure Cooker Chicken Times: Safe, Juicy Results
By Arjun Mehta • 29th Sep
What to do
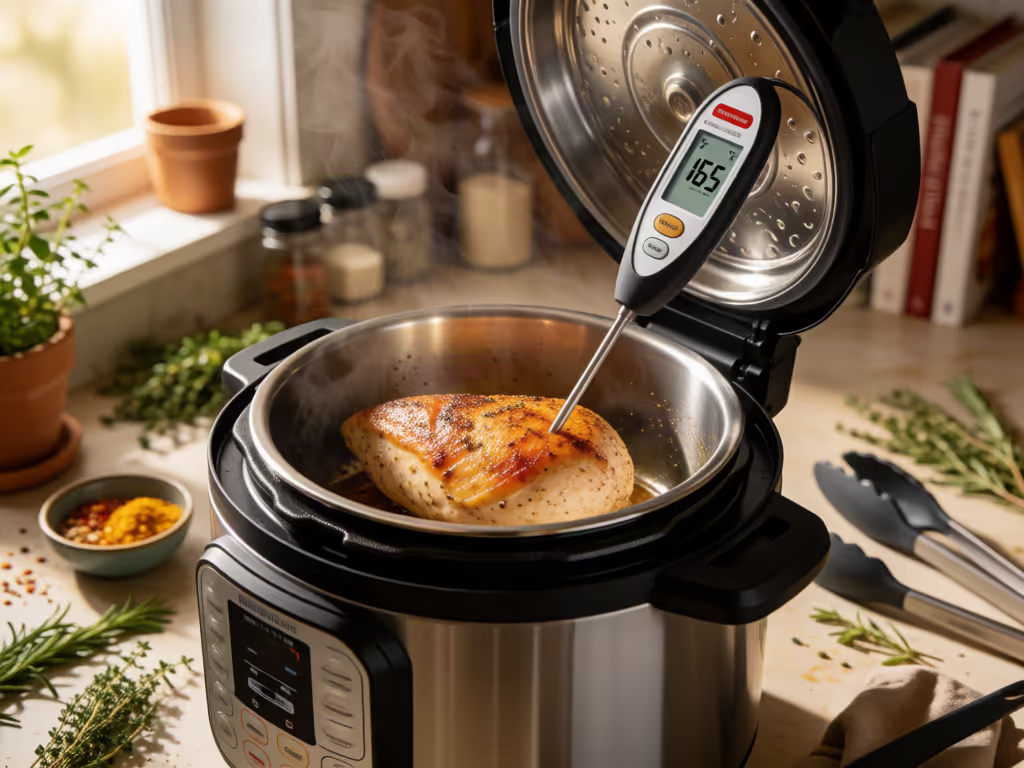
There is no universal pressure-cooker chicken time. Start with a cut-specific recipe and its pressure-release sequence, then verify the thickest part reaches 165°F (74°C) with a thermometer.
- Start with: Use recipe-specific examples: 5 minutes for 2 pounds of boneless chicken with a 10-minute natural release, 10 minutes for unspecified bone-in chicken with a 5-minute release, or weight-based guidance for whole chicken.
- Then: Allow for the recipe’s stated pressure-release sequence when planning your meal.
- Important prerequisite: Check the center of the meat—side-inserted for thin breasts—and wait 10 to 20 seconds for the reading. Liquid amounts and timing vary by recipe and cooker, so do not treat these examples as universal rules.
Important: Timing evidence is recipe-specific and does not establish universal times for every cut, thickness, cooker, or frozen chicken format.
Pressure cooker chicken becomes predictable when you separate the programmed cook time from the safety check. There is no universal answer to chicken pressure cooking times: cut, mass, recipe method, cooker, and release all matter. The dependable endpoint is simpler: measure the center of the meat and confirm 165°F (74°C) using these pressure cooking safety basics. That is the number that decides whether dinner is done.
A recipe-specific method, a defined release, and a thermometer are the practical variables to keep consistent. Bench-tested, not buzzworded.
FAQ: How long do you cook chicken in a pressure cooker?
Use a cut-specific recipe method as the starting point, then verify 165°F (74°C). Each recipe method below includes its stated release sequence where that sequence is available.
| Chicken format | Recipe-specific pressure time | Release in that method | What to verify |
|---|---|---|---|
| 2 lb boneless chicken breast or thighs | 5 minutes at high pressure | 10-minute natural release, then release remaining pressure | 165°F / 74°C at center |
| Bone-in chicken, cut and size not specified | 10 minutes at high pressure | 5-minute natural release | 165°F / 74°C at center |
| Fresh whole chicken | 6 minutes per lb at high pressure | 15-minute natural release, then release remaining pressure | 165°F / 74°C in the thickest part of the thigh |
| Frozen whole chicken* | 11 minutes per lb | This timing guidance does not specify a release sequence | 165°F / 74°C at the appropriate thickest point |
*This frozen pressure cooking guidance applies only to a whole chicken frozen after its giblets and metal or plastic ties were removed. It is not a conversion rule for frozen breasts, thighs, or other cuts.
These are starting points from individual recipe methods, not a universal chart. In particular, the 5-minute method groups pressure cooker chicken breast and thighs together for 2 lb of boneless chicken; it does not establish separate times by cut, piece size, or thickness. Likewise, the 10-minute entry is for unspecified bone-in chicken, not a validated time for every thigh, drumstick, breast, or wing.
Why the release is part of the method
A pressure setting and timer alone do not define the result. The boneless method pairs 5 minutes at high pressure with a 10-minute natural release. The cited bone-in method pairs 10 minutes with a 5-minute natural release. For whole chicken, the method uses a 15-minute natural release.
Treat those pairings as one testable sequence, and review this guide to natural versus quick release when adjusting the method. If you change the release, do not assume the original timing still applies. Measure first, then decide whether the chicken needs more cooking.
What gets measured gets reliably repeated in busy kitchens.
FAQ: What is the safest way to check pressure-cooked chicken?
A thermometer is the control instrument. Follow this three-step check every time:
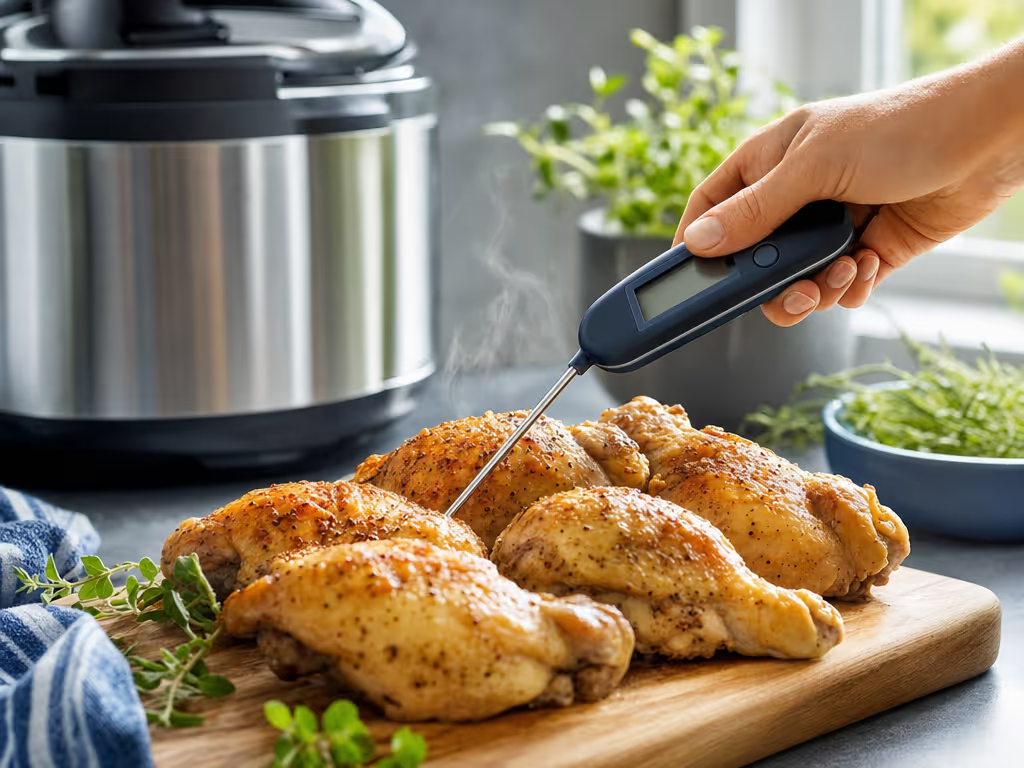
- Probe the thickest part of the chicken so the tip reaches the center. For a thin breast, insert the thermometer from the side.
- Wait about 10 to 20 seconds for the reading to settle.
- Confirm 165°F (74°C). Clean the probe afterward with hot, soapy water or a disposable wipe.
For a whole chicken, check the thickest part of the thigh. For pieces, the goal is to confirm the center of the meat, not merely a hot surface.
This is also the clean answer to PSI uncertainty. Use the stated cycle from a recipe method on your cooker and validate the endpoint with a thermometer. Record the cut, weight, pressure time, release, and final temperature. Your next batch becomes a known process rather than a hopeful repeat.
FAQ: How do I make shredded chicken in a pressure cooker?
For shredded chicken pressure cooker meal prep, the supported boneless recipe method is straightforward: 2 lb of boneless breast or thighs, 5 minutes at high pressure, then a 10-minute natural release before releasing remaining pressure. That method uses 1 cup of broth or water in a 6-quart electric cooker.
After the chicken is removed, let it rest at least 5 minutes before shredding, chopping, or dicing. First confirm the 165°F (74°C) endpoint. Then shred only as much as the meal plan needs; keeping some pieces intact gives you more options for salads, bowls, and sandwiches.
Do not treat that 1 cup amount as a universal minimum. It is part of one 6-quart recipe method. Do not generalize recipe liquid guidance to other cooker capacities without applicable manufacturer instructions.
FAQ: Can I put raw chicken in a pressure cooker?
Yes. The timing methods above begin with raw boneless chicken, raw bone-in chicken, or raw whole chicken. The safety requirement does not change: the finished poultry must reach 165°F (74°C) when measured correctly.
For whole chicken, one 6-quart recipe method uses 1 cup of stock or water. A separate whole-chicken method places the bird on a trivet above broth to keep it out of the liquid and make removal easier. Neither detail is a universal cooker requirement. Rest a cooked whole chicken for 5 to 10 minutes before slicing.
FAQ: Can chicken be overcooked in a pressure cooker?
It can miss the texture you want, so avoid extending a timer blindly. The evidence here supports recipe-specific time-and-release sequences and temperature verification; it does not establish one universal overcooking threshold for every cut or cooker.
Use a tighter recovery protocol instead:
- Complete the recipe's stated pressure and release stages.
- Check the center for 165°F (74°C).
- If it has reached that temperature, stop adding pressure time merely because another recipe used a longer number.
- If you finish skin-on whole chicken under a broiler for color, watch it closely: one whole-chicken method suggests 3 to 5 minutes and cautions against over-broiling because it can dry the chicken.
Pressure cooking leaves skin soft rather than crisp. A brief, watched broil is a finishing step, not an excuse to compensate for an unmeasured interior temperature.
FAQ: Is 30 minutes long enough to cook chicken?
For a fresh 5 lb whole chicken, the 6-minutes-per-pound recipe method yields 30 minutes at high pressure. That does not make 30 minutes a general answer for chicken. It would be the wrong way to choose a time for a smaller boneless batch, an unspecified bone-in cut, or a different whole-bird method.
A separate whole-chicken recipe gives 24 minutes at high pressure followed by a 15-minute natural release for a 3-to-4 lb bird. That variation is exactly why the thermometer, rather than a memorized round number, is the final authority.
Build your own repeatable chicken log
If dinners need to be fast and reliable, make one small note after each successful batch:
- chicken format and total weight
- fresh or whole-frozen, when applicable
- cooker and pressure setting used
- minutes at pressure
- natural-release minutes
- temperature at the center
- whether the texture suited slicing, shredding, or serving whole
After two or three batches, you will have a calibrated method for the chicken you actually buy and the cooker you actually own. Start with a supported recipe-specific sequence, hold the release constant, and let the 165°F (74°C) thermometer check settle the question. That is the further exploration worth doing: not collecting more conflicting charts, but building a small data set you can repeat on a busy weeknight.
Related Articles