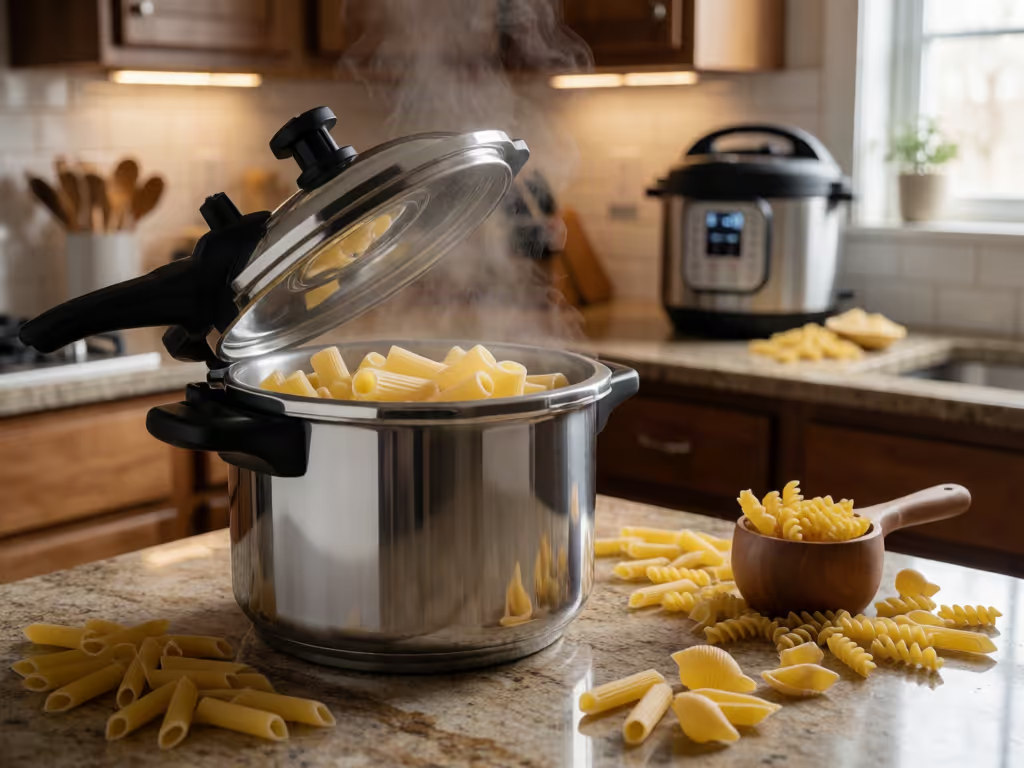
Pressure Cooking Pasta Safely: Times, Techniques, Texture
By Samira Haddad • 31st Jul
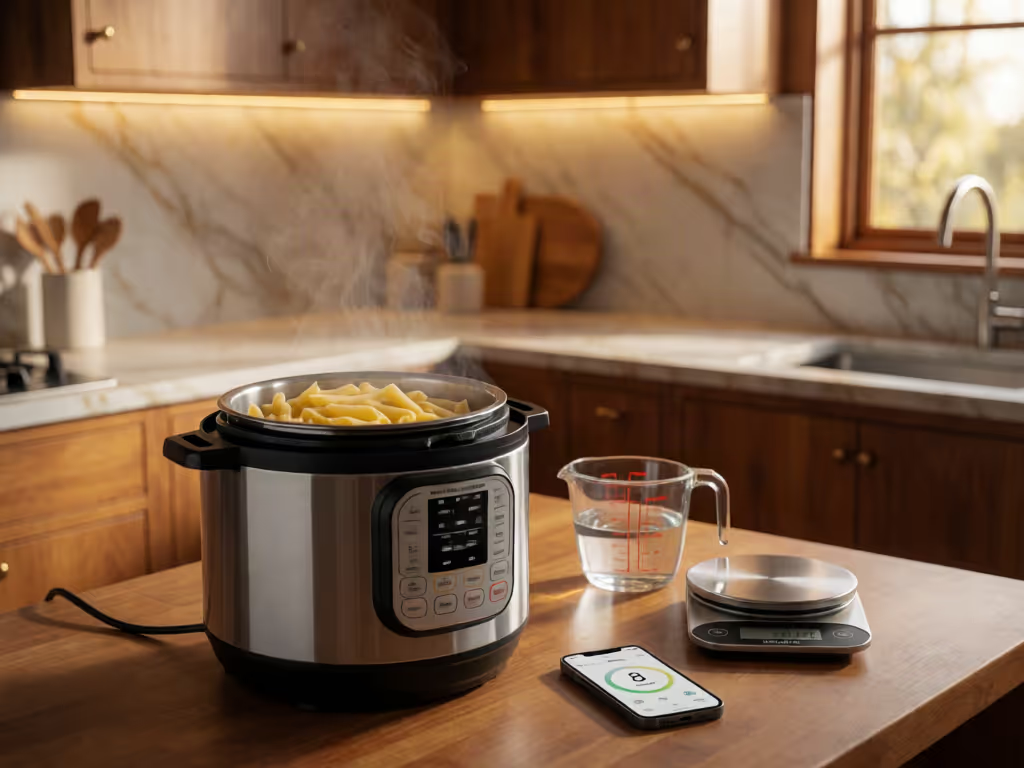
Quick answer
Pressure-cooking is a documented way to cook pasta, but safe use is conditional: use an actual pressure cooker, follow its exact manual for minimum liquid, maximum fill, and release, then treat published ratios and timing formulas as starting points.
- Timing: One high-pressure method halves the package’s lowest time after rounding down to an even number, then subtracts 1–2 minutes for the desired texture. This is a heuristic, not a universal chart.
- Technique: For plain pasta, a published starting ratio is 1 cup dried pasta to 1 cup water or stock; sauce does not replace that liquid. Stir thoroughly, separate spaghetti strands, and rest the pasta briefly after opening.
- Caution: Pasta can foam, and quick release may increase splatter risk with starchy foods.
One published method cooks pasta under pressure as an alternative to boiling. The method calls for precise measurements rather than improvisation. Your cooker's own liquid, fill, and release instructions control the setup; the published method then adds a measured timing formula and a calm finishing routine. Pasta can foam, which is a reason to treat the setup as a short safety procedure rather than a casual dump-and-start meal. Understanding how pressure transforms starches and other food components can also help explain why small changes in liquid and time affect pasta texture.
Safety is a sequence you practice, not a warning sticker.
FAQ Deep Dive: Is Pressure Cooking Pasta Safe?
Yes, provided you use an actual pressure cooker, stay within the fill limit stated in its manual, supply its required minimum liquid, and follow its release directions. If you are new to the appliance, review this safe first-time pressure cooking guide before adapting a pasta method. Pasta deserves extra attention because it can foam. If a cooker is overfilled, foam may contribute to blockage around the vent area.
This does not mean pasta is off-limits. It means the manual controls the method. For Fissler pressure cookers, maximum-fill levels and release methods can differ among models; for any cooker, use its own manual. Do not substitute a setting from a recipe, video, or another cooker for the directions supplied with yours.
Keep hands and face clear of the steam path. Never force the lid or attempt to open the cooker before it is fully depressurized. Fissler states that its pressure cookers cannot be opened until fully depressurized and must be properly locked before pressure can build.
Two-minute pre-flight checklist
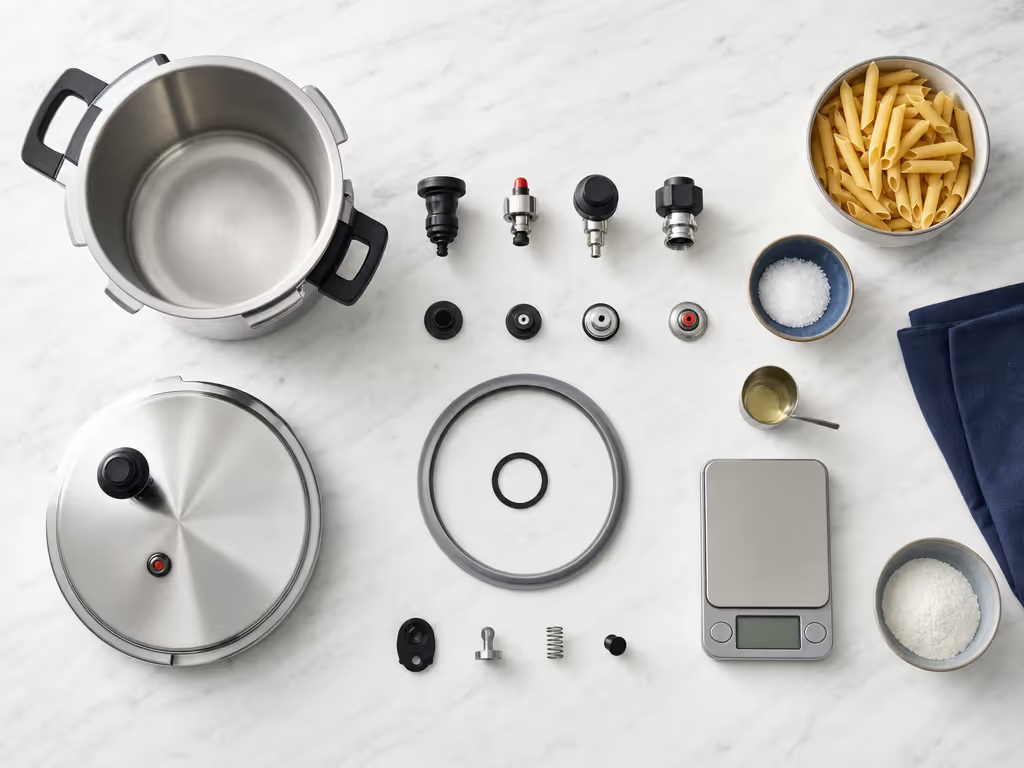
Before you turn on the heat or start a program, pause for this checklist:
- Read your cooker's instructions for maximum fill, minimum liquid, and pressure release.
- Inspect the gasket and valve area according to the manual. They should be clean, correctly seated, and free of food residue.
- Measure water or stock separately from sauce. In one published pasta method, marinara, pureed tomatoes, and strained tomatoes do not count as cooking liquid.
- Stay below the fill limit. Do not "make it fit" by compressing dry pasta or treating the marking as a suggestion.
- Stir thoroughly before locking the lid. This separates pasta and distributes liquid.
- Plan the release before cooking starts. If your manual has food-specific guidance for starchy foods, use it.
A neighbor once had a pot of chickpeas scorch because a float valve had become sticky. The useful lesson was not fear; it was the small pre-cook inspection that followed. With pasta, that same gasket, valve, and liquid routine is worth repeating before each batch. Safety lives in habits.
FAQ Deep Dive: How Much Water Does Pasta Need?
There is no single amount that is safe for every pressure cooker. Your cooker's manual sets the floor for liquid and the ceiling for filling. Start there.
For a plain-pasta technique, one publisher uses 1 cup dried pasta to 1 cup water or stock, plus 1/2 teaspoon salt per cup of dried pasta. The same method suggests 1 teaspoon of oil or butter per cup to help limit foam. Treat this as a starting technique, not a substitute for your cooker's requirements.
For pasta cooked with sauce, that publisher uses 1/2 cup water or stock per cup of pasta in addition to the sauce. The distinction matters: in that method, sauce does not count as cooking liquid.
A measured setup for plain pasta
- Add the dried pasta to the pot.
- Add the measured water or stock and salt.
- Add oil or butter only if it fits your chosen technique and manual.
- Stir until pieces are separated and moistened.
- Confirm that the total contents remain below the manual's fill marking.
- Lock the lid only after the valve and sealing components are correctly positioned.
For sauced pasta, add the separate water or stock required by the recipe rather than counting tomato-based sauce as the pressure-building liquid. Do not use a generic ratio if it conflicts with your appliance instructions.
FAQ Deep Dive: How Long Does Pasta Take in a Pressure Cooker?
There is no universal pressure-cooker pasta chart. Package times differ by shape and brand, while pressure level differs by cooker. A useful high-pressure heuristic from a published method is:
- Find the lowest time on the pasta package.
- Round it down to the nearest even number.
- Divide that number by two.
- Subtract 2 minutes for al dente texture, or 1 minute for softer pasta.
For example, if the lowest package time is 10 minutes: round down to 10, divide by two for 5, then cook for 3 minutes for a firmer result or 4 minutes for a softer result.
That method was described at high pressure (identified by its author as 12 psi), not as a conversion for every electric or stovetop cooker. Use it as a test batch, record your result, and adjust only one variable next time: either cooking time or texture target, not both.
Account for the finishing steps
The pressure-cooking interval is followed by the release period allowed or required by your manual and a short rest after opening.
This is especially important for weeknight planning. Pasta may need only a few minutes at pressure, but the method also includes release and resting time.
FAQ Deep Dive: Which Release Produces the Best Pasta Texture?
Texture and safety must be considered together. The published pasta method above uses quick release to stop carryover cooking, but general safety guidance notes that quick-releasing starchy, foamy foods may increase the risk of hot splatter. The evidence does not support one release method as universally correct for pasta.
The safe rule is straightforward: follow the release procedure approved for your exact cooker and its contents. Do not cover or alter the release valve unless the manufacturer explicitly instructs you to do so. Keep clear of escaping steam.
Once the cooker is fully depressurized and opened according to its instructions:
- Stir the pasta immediately.
- Let it stand for a couple of minutes.
- Assess liquid and texture before serving.
That brief rest gives the pasta time to absorb remaining liquid and cool slightly. It is often the difference between watery sauce and a more cohesive finish.
FAQ Deep Dive: Can You Pressure Cook Spaghetti?
Yes. Long pasta can be pressure cooked after being broken in half so it fits without forcing it. Separate the strands as you add them, then stir well before locking the lid. This reduces the chance that the spaghetti will enter the cooker as one compact clump.
Short shapes are generally easier to fit. Whatever the shape, do not pack pasta into the pot. Space, liquid, and movement are part of avoiding pasta foaming and achieving even cooking.
FAQ Deep Dive: How Do You Get Perfect Pasta Texture?
Texture is not determined by a universal minute count. Start with the published high-pressure timing heuristic above, which uses the lowest package time and a different subtraction for al dente or softer pasta. Because the evidence does not provide a universal chart, treat the result as a starting point rather than a guarantee.
Use this finishing guide after opening:
| Result | Finishing step |
|---|---|
| Strands stuck together | Separate and stir more thoroughly before cooking. |
| Excess liquid after opening | Stir, then allow the recommended short rest before judging. |
| Foam or sputtering concern | Stop treating fill limits and release guidance as optional; review the manual and clean the valve area after cooking. |
Avoid changing the pasta, liquid ratio, cooker setting, and time all at once. A small written note (package range, pressure time, release used, and texture result) helps you compare future batches.
FAQ Deep Dive: Are There Foods You Should Not Use a Small Pressure Cooker For?
Pressure cooking pasta for immediate eating is ordinary cooking; it is not home canning. Do not use a small pressure cooker for USDA pressure-canning processes.
For pasta itself, the relevant concern is not a blanket prohibition but controlled use: correct liquid, conservative filling, a clean valve area, and the release method specified for the model.
Put the Method Into Practice
For your next batch, choose one familiar short pasta, read the package's lowest cooking time, and write down the conversion before you begin. Then complete the pre-flight checklist, measure the liquid rather than estimating it, and follow your cooker's release instructions without shortcuts. After the short rest, record the texture.
That single note gives you a useful point of comparison for the next batch. Once you have that reference, you can apply the same principles to converting favorite recipes to pressure cooking, adjusting liquid, timing, and ingredient order systematically. From there, pressure cooking pasta becomes less about guessing at minutes and more about a calm, repeatable routine.
Related Articles