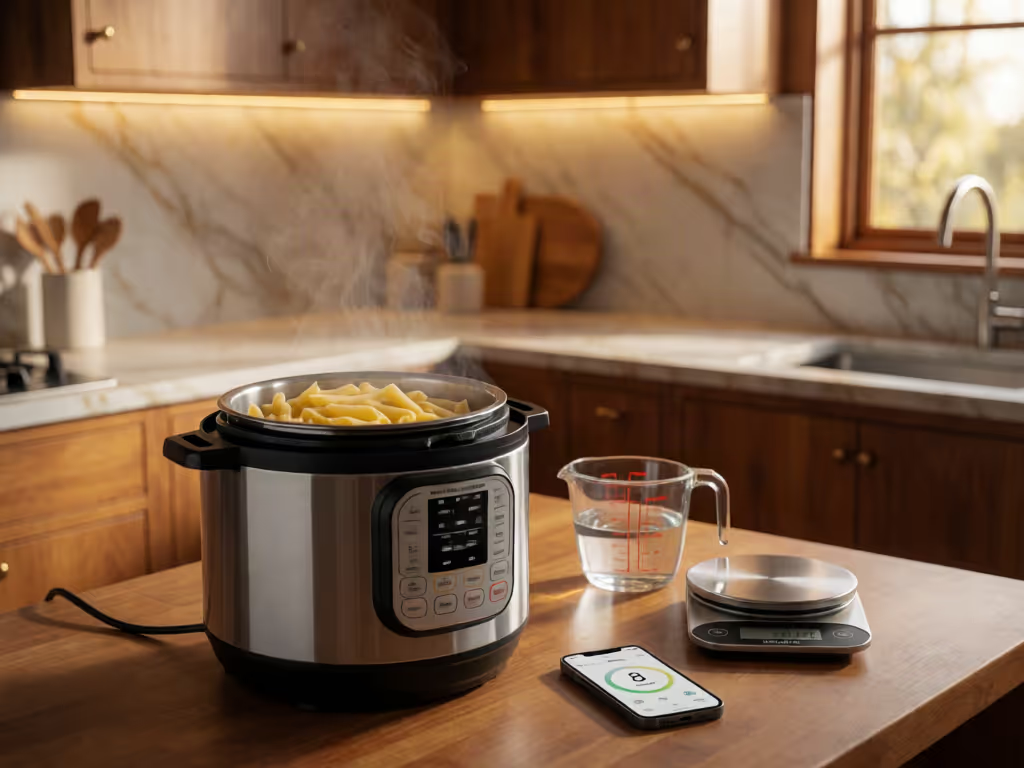
Pressure Cooking Pasta: Safe Times, Ratios, Texture
By Samira Haddad • 17th Sep
What to do first
Pressure cooking pasta can work in an electric cooker, but there is no universal time or water ratio. First confirm that your appliance manual permits pasta, then use a tested method matched to the shape and recipe.
- First action: For plain short pasta, two reported electric-cooker methods use 2 cups of water per 8 ounces. Choose one timing and release sequence rather than combining formulas.
- Likely explanation: Reported methods differ by pasta shape and recipe. Released starch can make pasta stick, while reported approaches range from 4–5 minutes to a package-time calculation; sauced spaghetti uses a separate recipe-specific time.
- Stop or escalate when: Do not pressure-cook pasta if your manual forbids it. One Presto stovetop manual warns that foaming can block vents; follow your exact manual for fill limits, vent checks, and release, since starchy liquid may spray.
Pressure cooking pasta can be fast and practical, but reliable results come from treating it as its own method, not from transferring ordinary pasta cooking techniques or a random internet time into a sealed appliance. The safest starting point is simple: use an electric pressure cooker only if its own manual permits pasta, then use a tested method that matches your pasta shape, liquid, and recipe. Pasta can foam, and that changes both the texture plan and the release plan. Because foaming can affect venting, review how pressure cooker safety valves work before adapting any pasta method.
Safety is a sequence you practice, not a warning sticker.
FAQ: Can you put uncooked pasta in a pressure cooker?
Yes, dry pasta is the starting point in the electric-pressure-cooker methods discussed here. But that is not permission to pressure-cook pasta in every appliance.
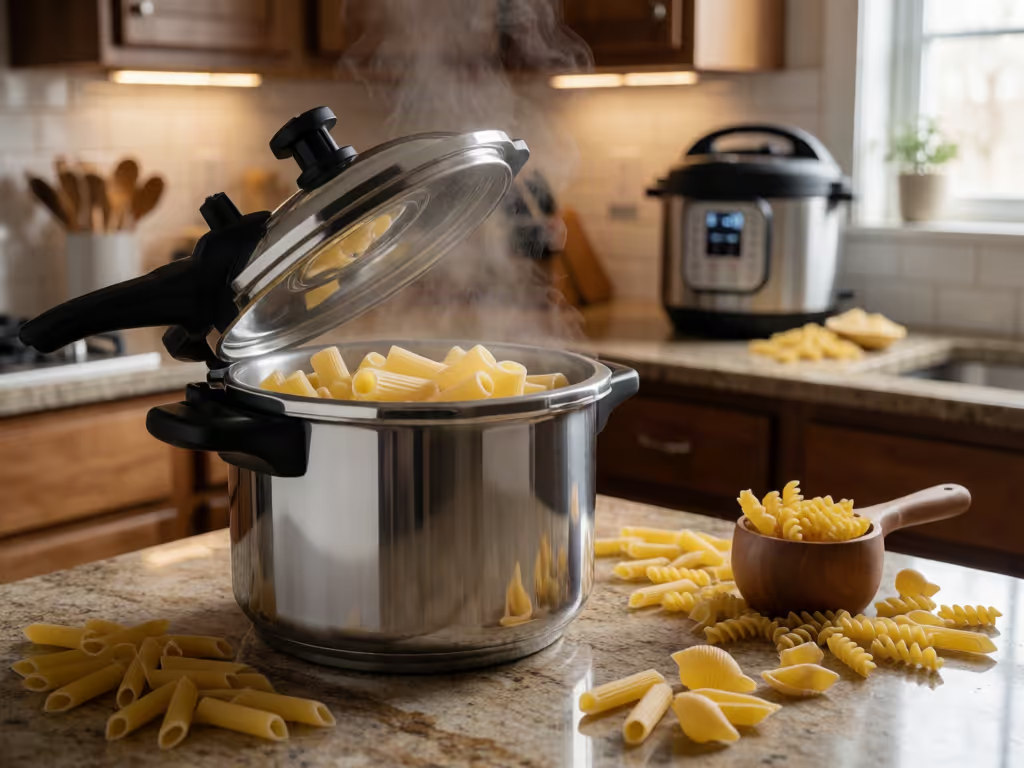
One stovetop pressure-cooker manual (the Presto 8-Quart Stainless Steel model) specifically says never to pressure-cook pasta. Its reason is important: pasta can foam, froth, and sputter, potentially blocking parts of the venting system. Follow that instruction if it applies to your cooker. Do not substitute an electric multicooker recipe for a stovetop-cooker safety rule.
Before you cook, pause, check, proceed:
- Check the manual for approved foods, required liquid, maximum fill level, and pressure-release instructions.
- Check the venting parts exactly as your manual directs. For example, the cited Presto manual instructs users to look through the vent pipe before use and confirm it is clear.
- Check the recipe type. Plain short pasta, long pasta, and pasta cooked with sauce do not use the same liquid approach.
- Check the release instruction before starting. With pasta, deciding at the end is how people get caught off guard by starchy spray.
A neighbor's sticky float valve once turned an everyday chickpea dinner into a scorched-pot problem. The useful lesson was not to fear the appliance; it was to build a tiny, repeatable check before each use.
FAQ: How much water do you need for pressure cooking pasta?
For plain, dry short pasta in the tested electric-pressure-cooker methods, a useful starting ratio is 2 cups water for every 8 ounces of pasta. Two independent recipe developers use that same ratio for plain pasta.
That means:
| Dry short pasta | Water for the reported plain-pasta method |
|---|---|
| 8 ounces | 2 cups |
| 16 ounces | 4 cups |
Treat this as a starting point for the type of method tested, not as a universal appliance rule. If you are adapting a favorite stovetop pasta recipe, use this pressure cooking recipe conversion method to reconsider its liquid and timing. Your cooker's stated minimum liquid requirement and maximum fill guidance still come first.
Why the ratio changes for spaghetti and sauce
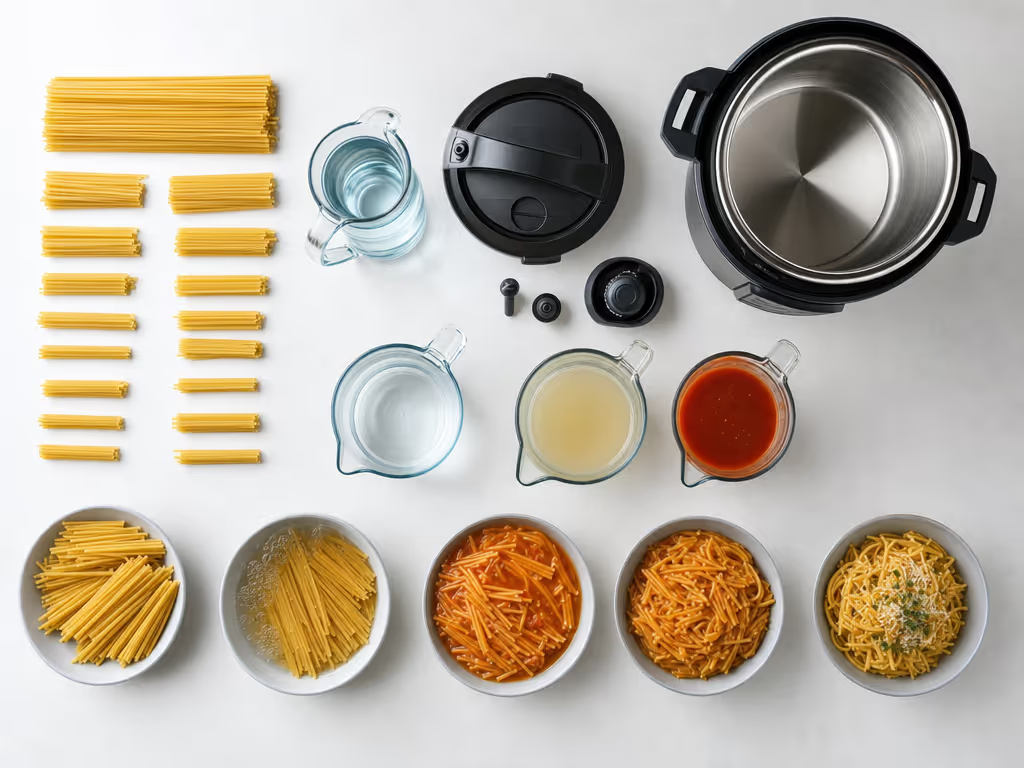
Pressure cooking spaghetti needs a separate approach in the available recipe guidance. For long straight noodles such as spaghetti, fettuccine, and linguine, one tested method says to:
- Break the strands in half.
- Add enough water to fully cover the pasta.
- Do not stir before pressure cooking.
That is deliberately different from measuring 2 cups per 8 ounces for short pasta. Do not force long noodles into the short-pasta ratio.
Saucy pasta is different again. A specific electric-pressure-cooker spaghetti-and-meat-sauce recipe uses 8 ounces of dry spaghetti, a 24-ounce jar of marinara, 2 cups of water, and ground beef. It layers the broken spaghetti over the meat and sauce, pours water over it, and does not stir once the pasta is in. That layering is part of that particular recipe; it is not a general formula for every jarred sauce or pasta shape.
FAQ: How long does pasta take in a pressure cooker?
There is no single dependable answer for all pasta, cookers, or recipes. The tested pasta cooking times vary by method:
- One electric-pressure-cooker method uses 4 minutes on high pressure for most short pasta when aiming for al dente texture, or 5 minutes for softer pasta. It includes shapes such as penne, shells, and macaroni and was tested in 6- and 8-quart electric cookers.
- Another tested method, run in a 6-quart electric cooker across more than 20 pasta varieties, begins with the pasta's package time: choose an even package time, divide it by two, then subtract two minutes. For a package range of 9 to 10 minutes, use 10: 10 / 2 - 2 = 3 minutes at high pressure.
- A specific spaghetti-with-meat-sauce recipe uses 8 minutes on high pressure, but that time belongs to that full recipe, including its meat, sauce, water, and layering (not plain spaghetti).
The takeaway is not "pick whichever time sounds right". Choose one tested approach that fits your appliance, pasta, and recipe, then repeat it consistently before making changes.
What "perfect pasta texture" means here
Pressure cooking continues to affect pasta after the timer ends. In the package-time formula method, the sequence is five minutes of natural release, then release the remaining pressure, stir vigorously, and rest the pasta covered for another 5 to 10 minutes. The author warns that extending that initial natural release can overcook the pasta.
For the package-time method, follow its pressure time, release, stirring, and covered rest as one sequence. If you prefer softer pasta, use the softer-texture option within the method you selected rather than adding an unplanned long natural release.
FAQ: What release should I use to avoid pasta foaming and spray?
Avoiding pasta foaming starts before the release: do not exceed your appliance's fill guidance, do not improvise a low-liquid method, and do not ignore a manual that excludes pasta altogether.
Release instructions genuinely differ among tested electric recipes:
- The package-time method specifies five minutes of natural release before releasing remaining pressure.
- Another plain-pasta method recommends a gradual release to help limit starchy-water spray.
- The specific spaghetti-with-meat-sauce recipe calls for a quick release.
These differences are not a contradiction you need to solve with a one-size-fits-all rule. For more detail on choosing between release methods, read this guide to natural versus quick release. They are a reminder to follow the release specified by the recipe you are actually making, and the safety directions for your specific cooker.
Caution: Hot starchy pasta water may spray from a pressure valve during manual release. Keep hands and face away, and do not treat a pasta release as routine just because the timer has ended. If your manual's release procedure differs from a recipe, the manual wins.
FAQ: Why is my pasta sticky, wet, or uneven?
Pasta releases starch as it cooks, and that starch can make pieces cling to each other or to the pot. For a deeper explanation of how pressure changes starches and texture, see the science of pressure cooking. For pressure cooking, the practical response is not to add random extra water after the fact. Instead, use the finishing steps built into your chosen method.
For the tested plain-pasta approaches, that means:
- Stir thoroughly after pressure is released. Both plain-pasta methods call for stirring; one specifically says vigorous stirring followed by a covered rest.
- Allow the specified rest. In the package-time method, the recipe specifies a 5-to-10-minute covered rest.
- Keep recipes separate. A sauce-heavy spaghetti recipe, plain penne, and long noodles covered with water should not be judged by the same ratio or timing rule.
If the pasta is not at the texture you want, record the package time, pasta type, water or sauce amount, pressure time, and release sequence. Change only one variable next time. That small note is more useful than chasing contradictory advice.
FAQ: Can I use a pressure cooker for pasta canning?
No. Pressure cooking dinner and pressure canning shelf-stable food are different jobs. The National Center for Home Food Preservation states that USDA does not have recommended canning processes for small pressure cookers. For home canning, use USDA-recommended processes and equipment rather than a small pressure cooker.
Your next step: run one controlled pasta test
Choose a plain short pasta your electric cooker manual allows. Use the tested starting ratio of 2 cups water per 8 ounces of dry pasta, select one of the tested timing methods that fits your pasta and cooker, and follow its release sequence without mixing methods. Write down the package time and the final texture.
The next time you cook it, keep the ratio and release the same and adjust only the pressure time if needed. That is how pressure cooking becomes calm, repeatable, and safe: not luck, but a routine you can trust.
Related Articles